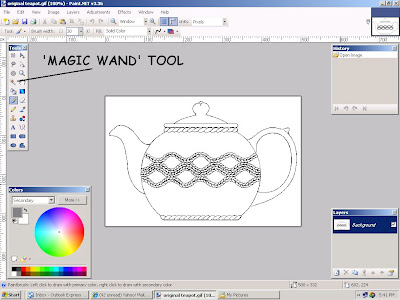
 In the 'Tools' box on the left select the 'magic wand'. It looks like a little torch. Click the'+' part of the wand cursor on the spout area of the teapot. Notice the sparkly line that appears around the spout area. This means that everything inside the sparkly line is selected and can be modified and everything else is ignored. Click the 'Paint Bucket' cursor with black for the color inside the selected area.
 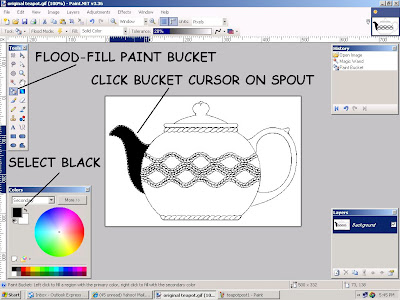 Use the wand and bucket to fill in the other large areas until your image looks like this:
 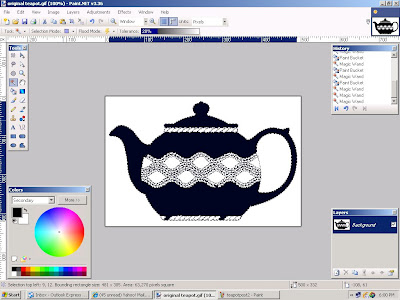 Next click the wand on the pattern area near the teapot handle. Notice that the area inside the handle is also selected. This is because the area we need to color isn't completely enclosed by the black outline. In this image, a couple of pixels are missing from the pattern outline. This isn't visible at this magnification level. Using the 'View' and 'Zoom in" feature, increase the magnification level to 300%.
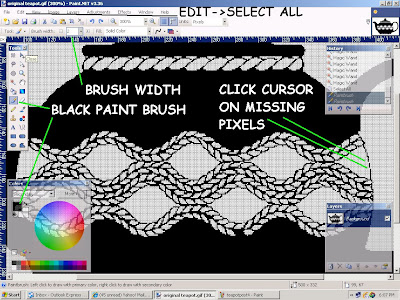
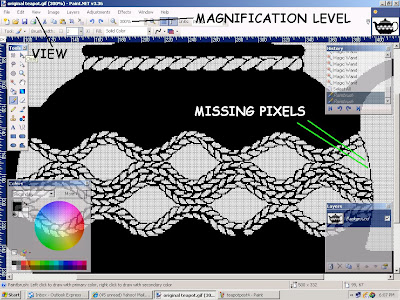 The gaps in the outline are now more easily seen. To replace them, use the paint brush with black as the color. Set the brush width to 1 or 2 pixels. Be sure to select the entire image using 'Edit' and 'Select all' from the drop down menu. Now just click on the image where the missing pixels should be.
 Now that the missing pixels are replaced, you can click the wand on the pattern area and fill it with black. While we are at this magnification you can paint in the little areas of the pattern until the outline of the teapot is more distinctly defined. You can move the various boxes out of the way by clicking and dragging on the blue bar at the top of the box. Next increase the brush width to about 20 and paint in the rest of the teapot except for the bottom. We have another technique to make painting that area easier.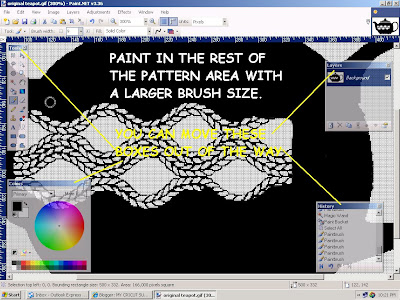
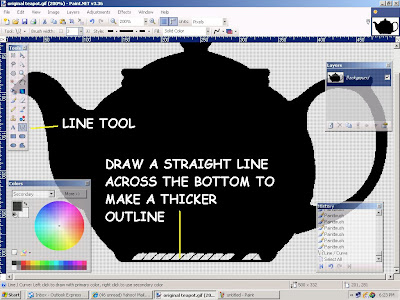
All that is left to complete the silhouette is to paint in the bottom area. Make sure you have the entire image selected. To thicken the bottom in order to make it easier to 'stay in the lines' just use the 'Line Tool' with a brush width of about 4 and black for the color. Draw a straight line across the bottom and the use a wider brush to paint in the rest of the teapot.
 Finally, click 'View->Actual size' to return the image to its original size. Save your work and it is ready to be converted to SVG in Inkscape. The next post will be Kristina's Teacup.
GOOD LUCK AND HAPPY CUTTING!!

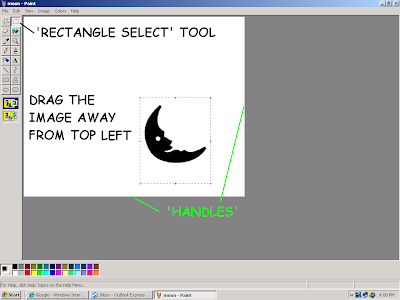
 A copy of your original image will appear in the top left of your work area. The duplicate will be selected. Next click 'Image>Flip/Rotate. In the box that appears be sure to select 'Flip horizontal', then click 'OK'.
 The copied image is now mirrored. Next select the original image, making sure that 'Transparent' mode is active, and drag it towards the mirrored image. Carefully line up the images so that they touch symmetrically at the hinge area. Because the images are touching they will be 'welded' when you convert to SVG.
 The resulting 'welded' image should appear something like this:


 With the image enlarged, you can use the 'Magic Wand' to select the centers of the letters and use the paint bucket (or brush) to change the black areas to white. If you use the brush, note that the brush size is enlarged the same as the image.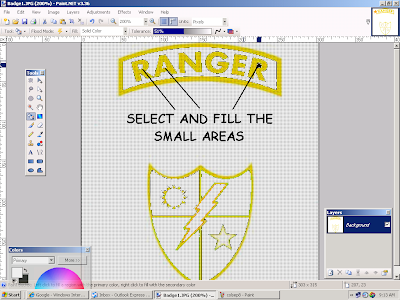
 You will find that even after the selecting and painting there are still some areas with poor detail. We must eliminate these so that you don't get a 'raggedy' SVG. To do this last step I use a technique that I call 'Pixel Painting'. Zoom in a couple of more steps until your image looks something like this:
 Now save your image so you can convert it in Inkscape.
  When you trace the bitmap in Inkscape select 'Brightness cutoff', set the threshold to about .650 - .700, and uncheck 'Smooth' (to give you sharper corners). Save your file and that's it! The gold part of the 'Badge' image is ready to cut. Now use the same techniques to make a silhouette of each of the remaining colors.
 The first thing we must do is to create a new folder in which to save our images.

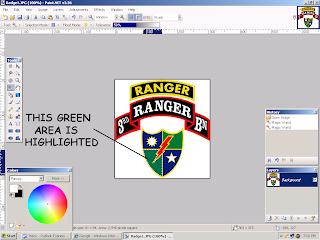
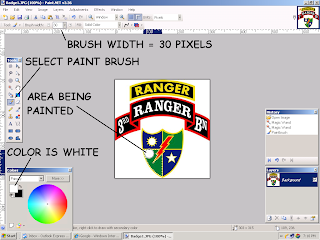

 Select the paint brush and white as your color, and a brush size that you are comfortable with.
  You now should have an image that looks like this:
 You should save the image at this point. Use the folder that you created earlier and use a file name that is easy to remember, like 'badgegold'. There are still some black areas and edge remnants but we will get rid of them and smoothen any jagged parts in the next post. If you have any questions -


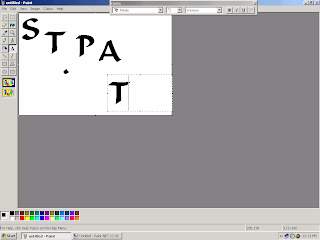
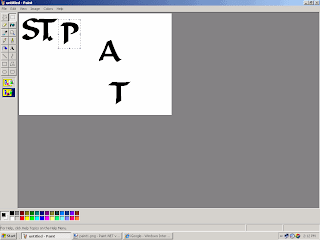
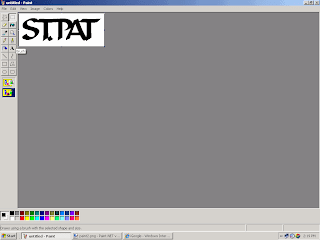
 Next, start INKSCAPE and click 'File' and 'Open' then select the image that you just saved. Now click on 'View'-Display Mode...- and click 'Outline...'. The image will be replaced with a red "X". Click on the border of the red "X" and it will be selected.
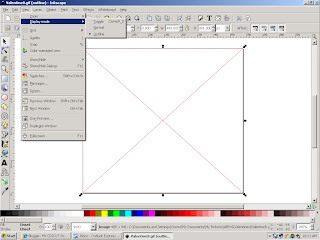 Now click on 'Path' then click 'Trace Bitmap...' and another window will appear. Make sure the red "X" is selected. In the new window, click on 'Brightness cutoff' and set the threshold value to about .650 then click 'Update'. Your image will appear the way it will look after cutting on your CRICUT. If you like the way it looks click OK. An outline of the image will appear in the red "X". The outline is the cut your CRICUT will make.
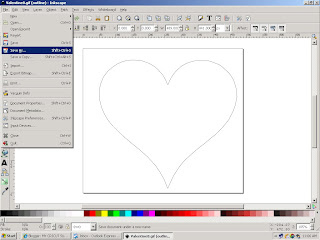
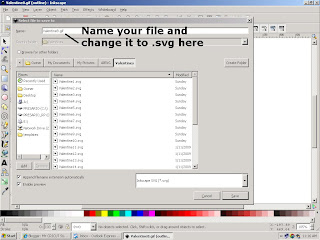
 Close the 'Trace Bitmap' window. The outline image will be selected but you will need to select the red "X". With the red "X" selected, hit the 'Delete' key on your keyboard and the red "X" will disappear. You are left with your finished SVG file. To save it, click on 'File' - Save As... and a new window will appear.