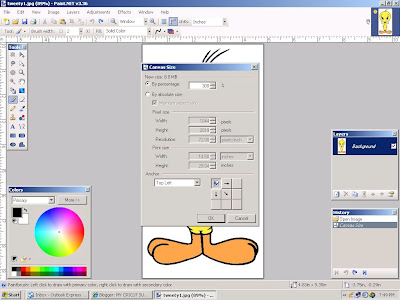
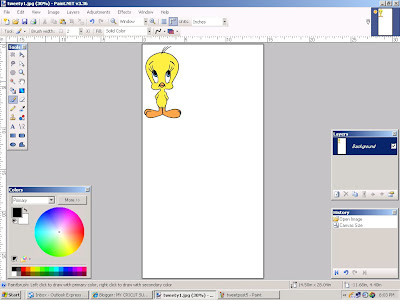
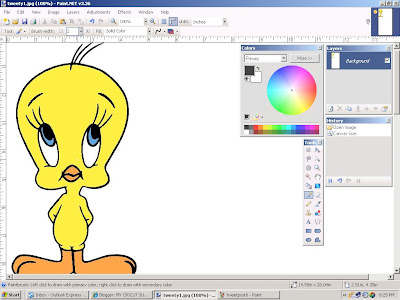
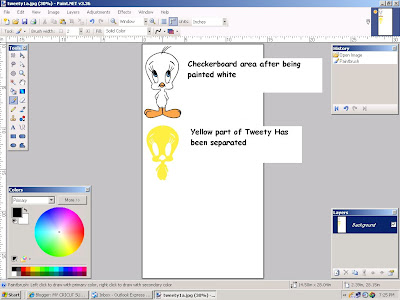
 NOW for the 'FUN' part. First we'll take the yellow part of Tweety and set it aside. There is only one yellow area in this image so it's easy to break it out. Using the 'Magic Wand' tool, click it anywhere in the yellow area. The yellow part is now selected. Using the 'Move Selected Pixels' tool, click and hold on the highlighted yellow area and drag it downward until it is clear of the remaining image.
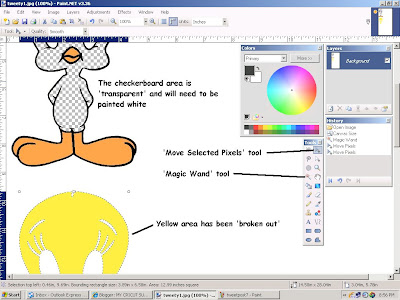
You'll notice that where the yellow used to be, there is a checkerboard pattern. This area is transparent as far as the computer is concerned, and Inkscape doesn't handle transparent well, so we'll have to make it white. Using the 'Magic Wand', click on the transparent area to select it, then using the 'Paint Can' flood tool color it white. When you zoom out you'll have a white Tweety with the yellow part below like this:
Now zoom back in so we can separate the orange parts - Tweety's feet and beak. Using the 'Magic Wand' tool, and while holding the 'Crtl' key, click on each of the 4 orange areas to highlight all of them at once. This will create another layer consisting of the orange areas only. *Remember* that you can drag the toolboxes out of the way. The image should now look like this:
 Click the 'Move Selected Pixels' tool. An area will be 'boxed in' that includes all of the orange areas that were selected in the last step. Click and hold anywhere inside the box, and drag it to an open area on the work area. You may have to zoom out to make it easier to position the orange layer on your canvas.
 Select and paint the transparent areas white as we we did before. Now you can use the same technique to separate the blue and finally the black areas. Don't forget to paint the transparent areas as they are created. *HINT* You can use one of the 3 'Select' tools to re-arrange the layers to make the best use of your work area. You should now have an image thet looks something like this:
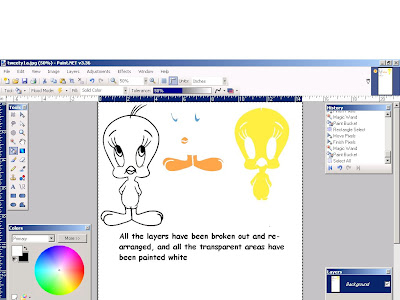
One more step and your image is ready to be converted to SVG in Inkscape. Use the 'Rectangle Select' tool to select all the layers together. Click 'Image' on the toolbar then click 'Crop to Selection'. The finished image will look like this:
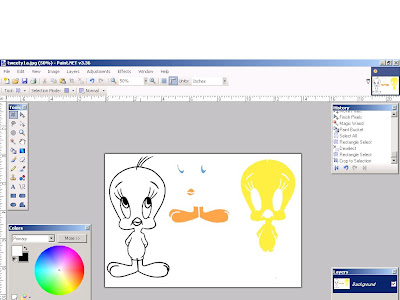 Save your work and it is ready for conversion to SVG in Inkscape. If you have gotten this far with me you are probably familiar with Inkscape and will know how to manipulate the image and its layers, but I think I'll do the next post on converting this image for those of you that aren't quite sure of what to do next. Stay tuned! Until then.......
Thank you for this tutorial, it was easy to do only the black part didn't go well and then the inkscape part...sigh :-( But this is a start and I think I need more practice!
ReplyDeleteSaskia
Netherlands
Thanks for the instructions & tips. Yes, please write a tutorial on how to convert the layers into SVG files in Inkscape & eventually into a SCAL cut file. I'm new at this, but your instructions were awesome & I was able to follow completely. That doesn't happen that often! Thanks!
ReplyDelete